Yeast is a total diva; everything must be just so, or it will throw a tantrum and refuse to go on. However, it is essential to many baked goods and other fermented products. Yeasts are single-celled fungi. There are different varieties of live yeast used in cooking to make different things like bread, pastries, wine, and beer. They consume sugars and produce carbon dioxide and alcohol. When that’s happening inside your dough, the CO2 forms little air bubbles that cause your dough to rise, and can create excellent texture and flavor. Nutritional yeast and yeast extracts are also used in cooking, but are inactive and used only to add flavor and nutrients.
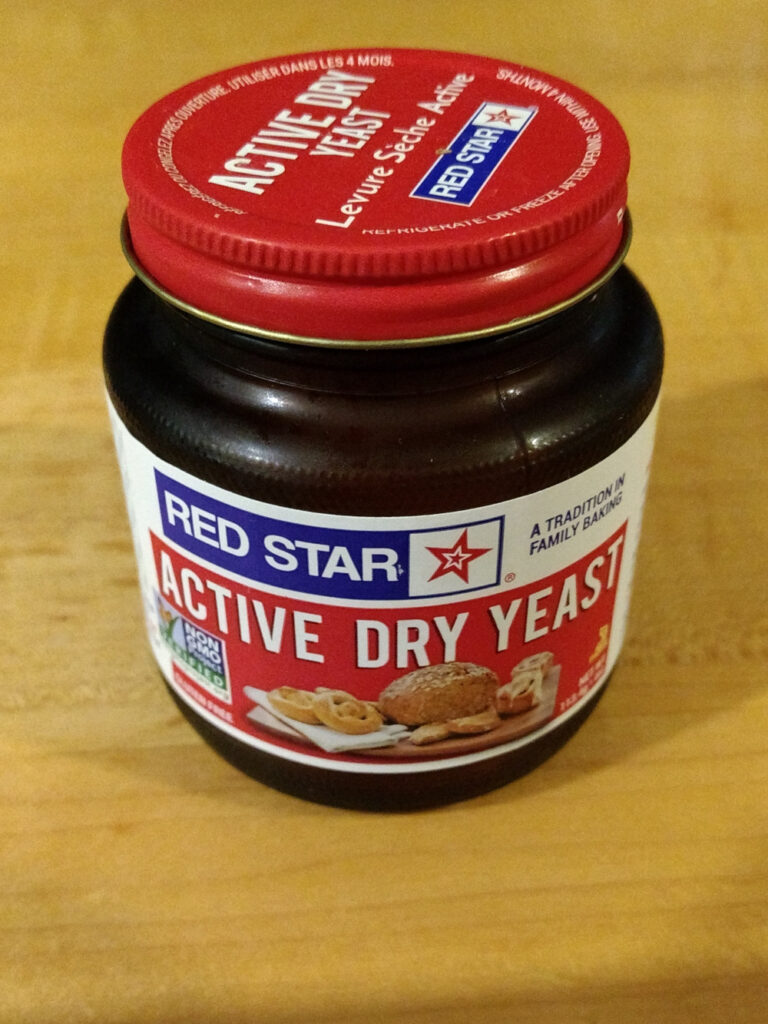
Generally in baking, there are a few ways to leaven (add a rising agent to) batter or dough often this is done with either chemical leavening or yeast (although some things rise because of steam and/or eggs). Most of the time, for the latter option, you will use active dry or instant yeast, which are usually interchangeable, although they make take different amounts of time to proof initially. It can be bought in a jar, a compressed cake, or in pre-measured packets.
Dry Yeast

Dry yeast usually needs to be proofed before you use it. This is often done by putting it into a warm liquid with some sugar content and letting it sit for a few minutes until the yeast activates and starts doing its thing. Too hot, however, and it will die! The liquid should be lukewarm (or even room temperature, although it will take longer to activate this way).
A good way to test if something is lukewarm without a thermometer, is to put your finger in the liquid. If it is lukewarm, it should feel as though it is the same temperature as your body; neither warm nor cold to the touch. If it’s too old, will also work less effectively, as it dies off gradually the longer it’s stored. To slow down this process, you should store your dry yeast in the fridge or freezer.
Troubleshooting
If your yeast fails to get frothy in the initial proof, there are a couple of things you can try. First, add a little more to your liquid along with a little bit sugar (perhaps a teaspoon, depending on the volume of the mixture). Let sit for another 10 minutes. If there are still no bubbles, throw it out and try again, making doubly sure that your liquid is not too hot. If you still don’t get any bubbles, your yeast might just be too old (or otherwise dead). Buy some fresh stuff and try again.
Naturally-Occurring Yeast
Sometimes, instead of adding it, you can cultivate naturally-existing yeast. This is the mechanism by which sourdough is made. This process requires more patience, but yields its own unique results and can be quite an interesting project! I will talk more about this in another post.


2 thoughts on “Working with Yeast (and Troubleshooting)”
Comments are closed.