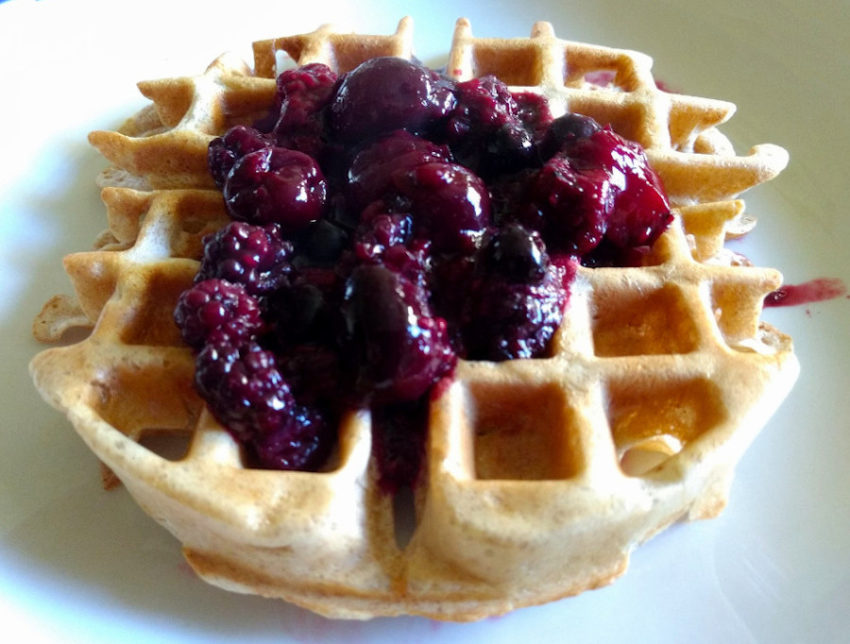
Compote–a dish of stewed fruit–is great with things like yogurt, pancakes, waffles, ice cream, etc. This exceedingly easy recipe eschews the usual sugar syrup instead using raisins for an added bit of sweetness.
A cooking resource for all levels

Compote–a dish of stewed fruit–is great with things like yogurt, pancakes, waffles, ice cream, etc. This exceedingly easy recipe eschews the usual sugar syrup instead using raisins for an added bit of sweetness.
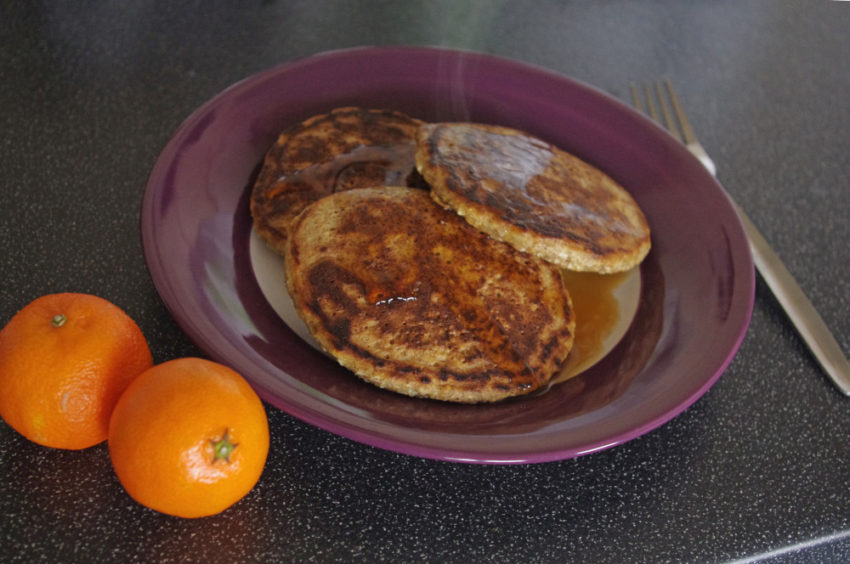
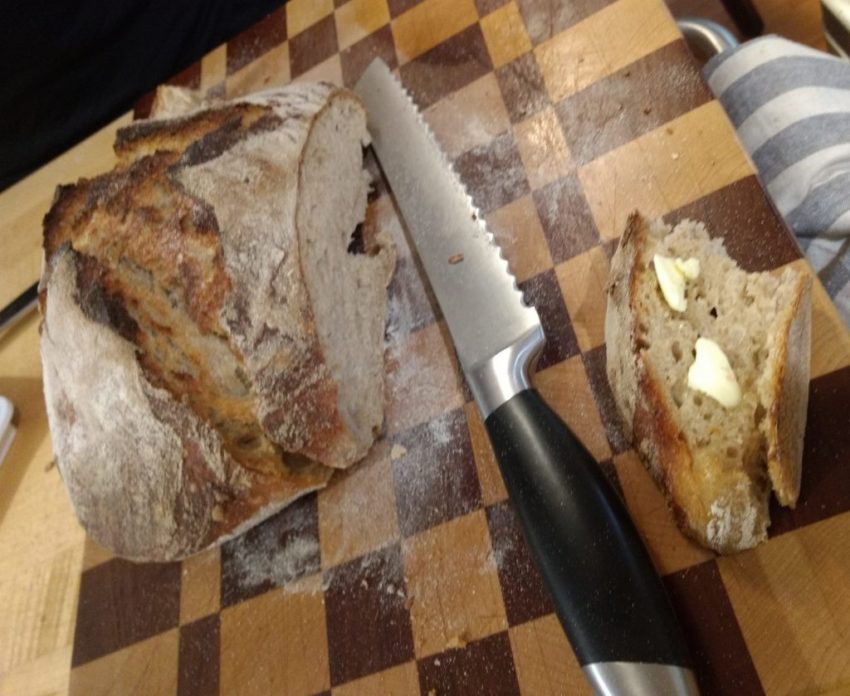
This is my go-to (American) pancake recipe for everyday breakfasts because they’re completely whole grain and don’t have any extra sugar in the batter. The only downside (if you can call it that) to them is that they soak up lots of maple syrup, but if that’s a problem, they are delicious served with butter and jam or fruit compote instead.
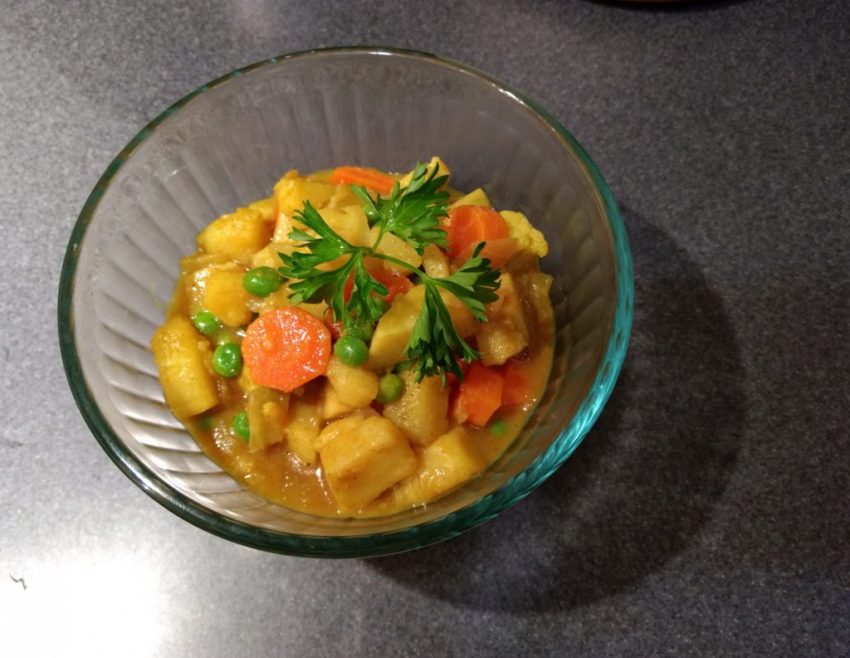
There are many, many kinds of curry. This one is very simple and makes a great weeknight dinner. You need a few core ingredients, and the rest can be decided based on what you have in your cupboard. I am especially fond of using root vegetables, peas, leafy greens, and cauliflower.
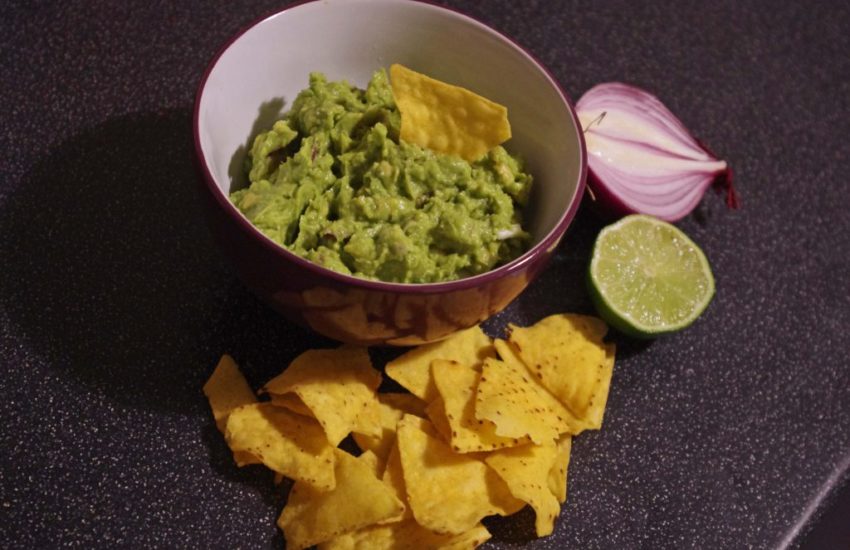
Guacamole dates back to the Aztec Empire, and to this day it continues to make the world a better place. It’s a part of Mexican cuisine and has become part of American cuisine as well. Delicious served with Mexican dishes, or simply eaten on tortilla chips in mass quantities, it’s healthy and super easy to make. You can use this recipe as is, or use it as a base and choose your own add-ins.
Avocados are incredibly versatile and delicious eaten raw or cooked. You can enjoy them with a spoon straight out of the skin, slice and eat ’em in a sandwich or omelette, bake it, sauté it, mash it to make guacamole, use it in baked goods, or puree it to make sauces, smoothies, and even ice cream!
Many recipes will require you to melt butter and chocolate. This isn’t terribly complicated, but both can be temperamental in similar ways, so this post will give you a quick rundown of how to keep things from going awry.
Generally in baking, there are two ways to leaven (add a rising agent to) batter or dough–yeast or chemical leavening. Most of the time, when making something yeasted, you will probably use active dry or instant yeast, which are usually interchangeable, although they make take different amounts of time to proof initially. This type of yeast can be bought in a jar, a compressed cake, or in pre-measured packets.
There are many considerations in the subject food safety, but these are a few basic guidelines that might help you start thinking about good hygiene in the kitchen if you’re new to cooking.
As you cook more, you’ll probably figure out which things you consider essential or helpful to keep on hand. For the raw beginner, I’ve created a list with some basic ingredients to get you started stocking your cupboards.